I have been meaning to come back for awhile!
Do have to say I have been a little naughty after promising you guys I would do this post allot sooner than I have.
I have some good excuse and some not so good:
Reasons:
- Last Tuesday I had a cortisol injection into my wrist to treat carpal tunnel syndrome, which made typing near impossible (but thankfully not painting).
- Painting I have had and have many miniatures distracting me from getting around to do this.
- The amount of pictures I have to sort through and use is very daunting
- I am just plain lazy, when it comes to this blog (sorry).
- I have 2 young kids and a Wife.
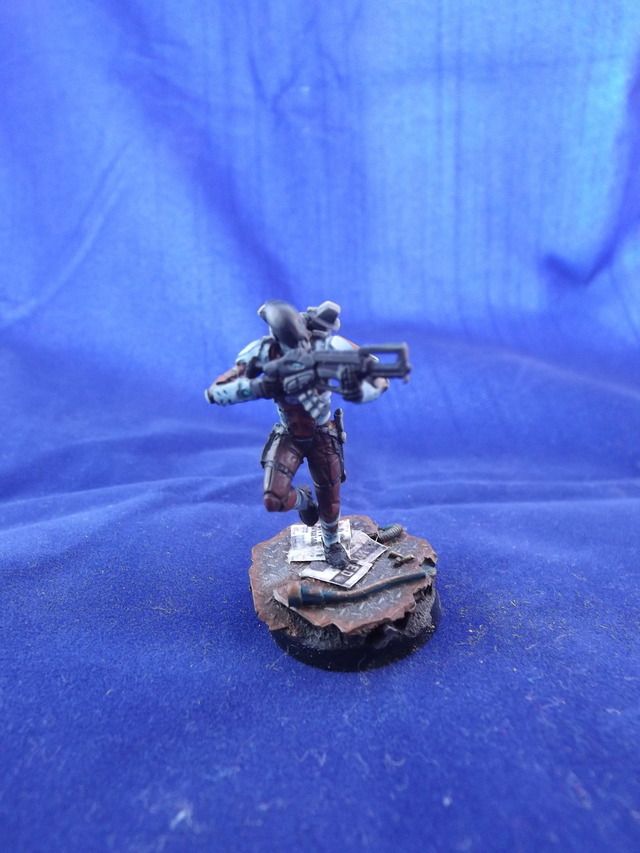
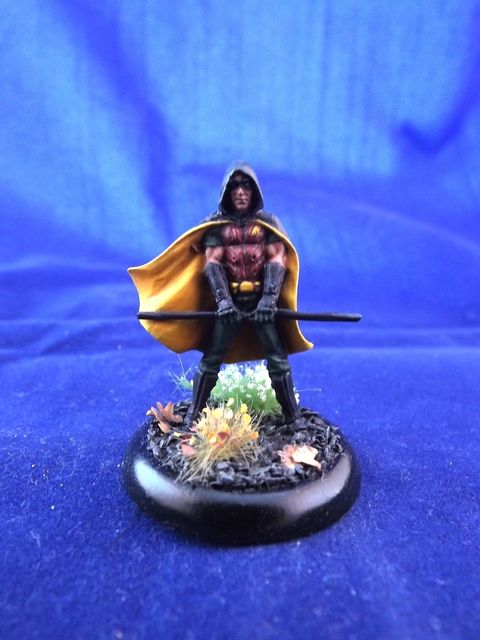
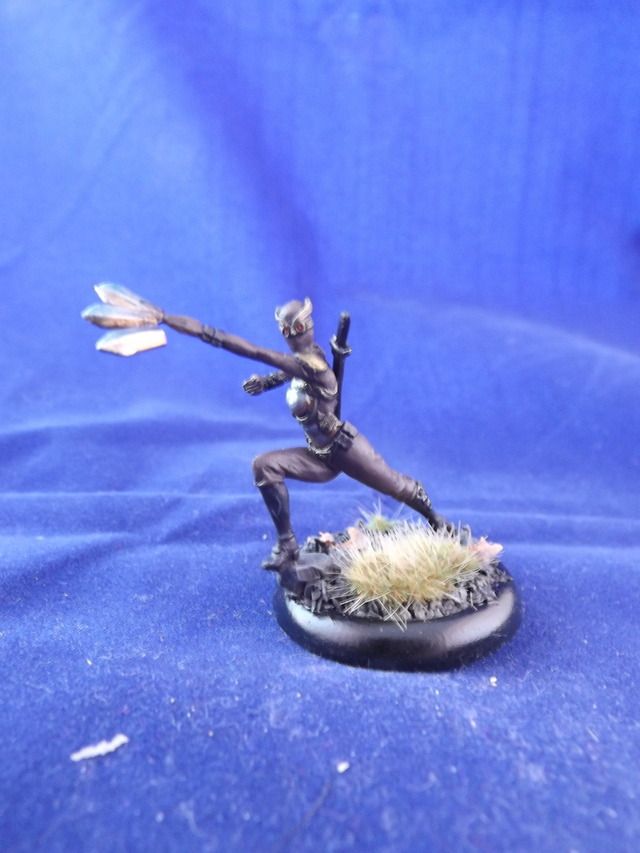
Well a few week ago I was astonished to be asked for painting guides on how I would tackle curtain colours. So I put up a poll in Arkham city Limits on which Knight model I should paint next. Mr Freeze and Killer Frost won with AK Harley Quinn coming second, So I decided to go for both.
I don't know if I'm being overly humble or something but I never really consider myself a good enough painter on Arkham city limits, to deserve such a request, especially with people like Ian Alcock producing some stunning scenery, and Mark Lathams AK Batman which make me feel sad how good it is compared to my efforts. I could name more but this blog post has taken long enough to sort out as it is.
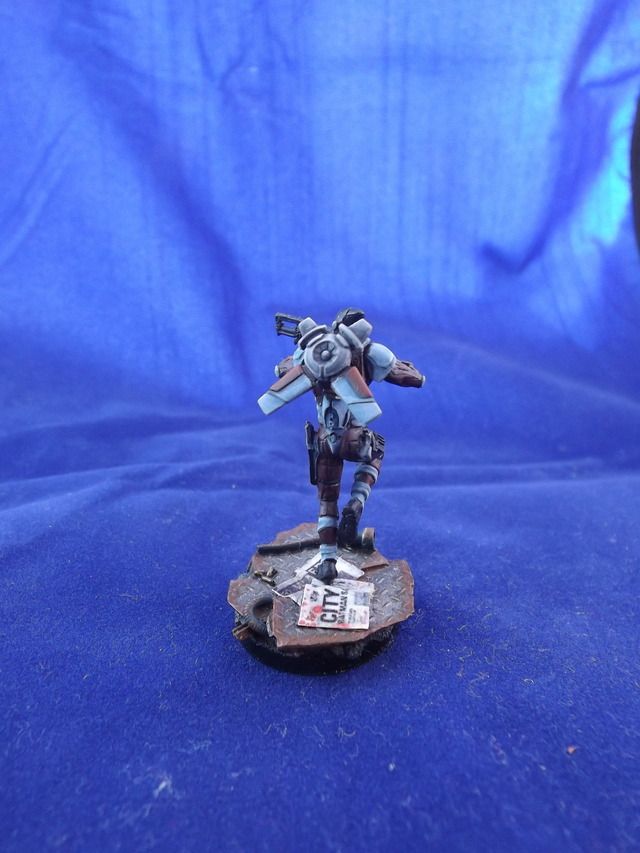
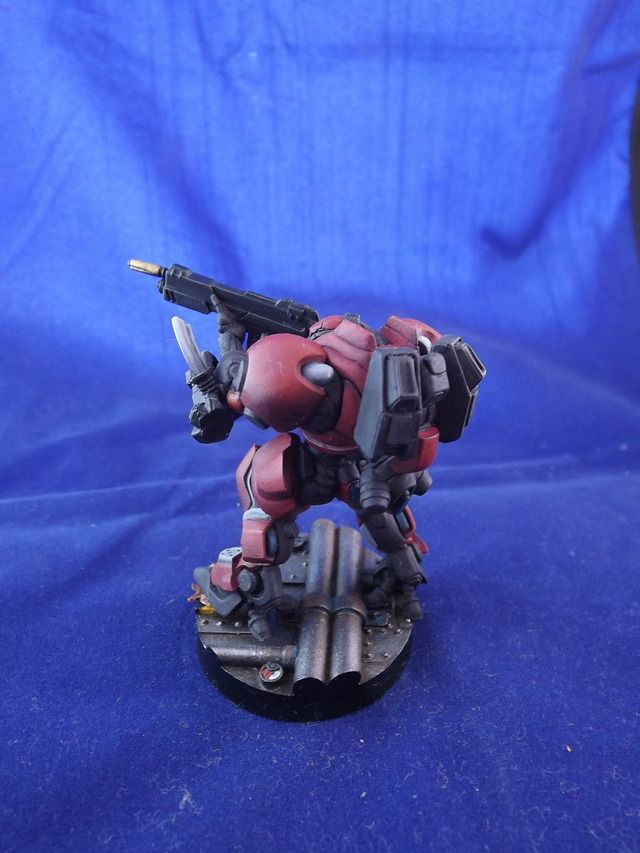
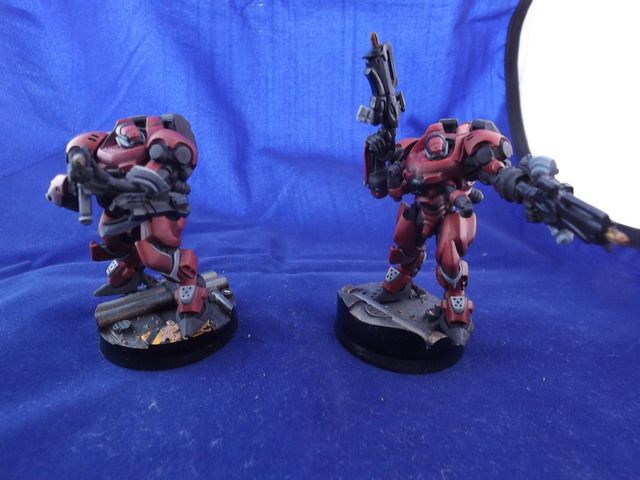
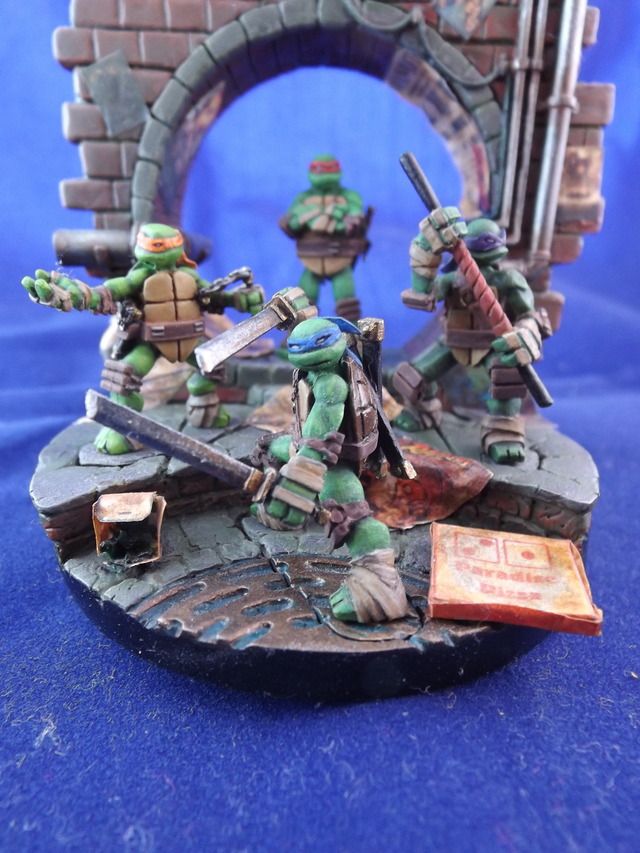
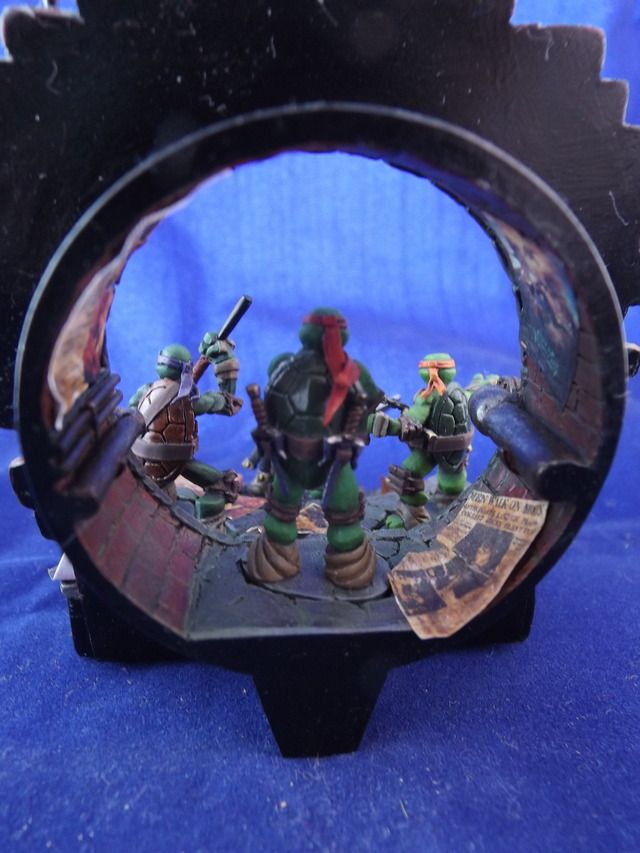
So To start with I thought I had better reel off some pictures of other models I have done, before I go through a step by step guide to "some" of my techniques and cheats. If I don't cover something you want to know about please ask on here or on the necessary FB group you find the link to here.
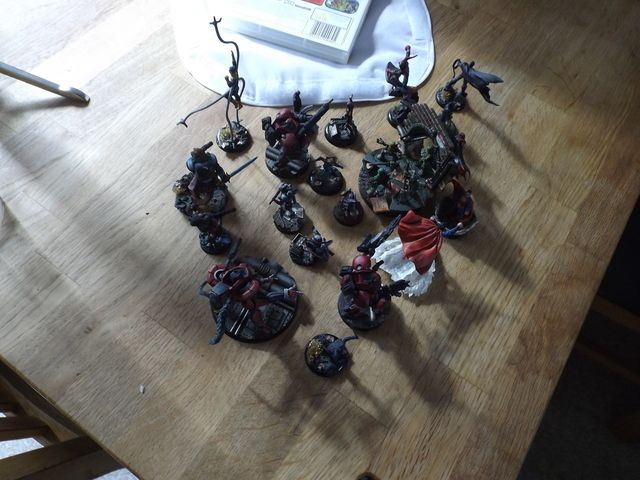
Firstly some commission work I have just completed:
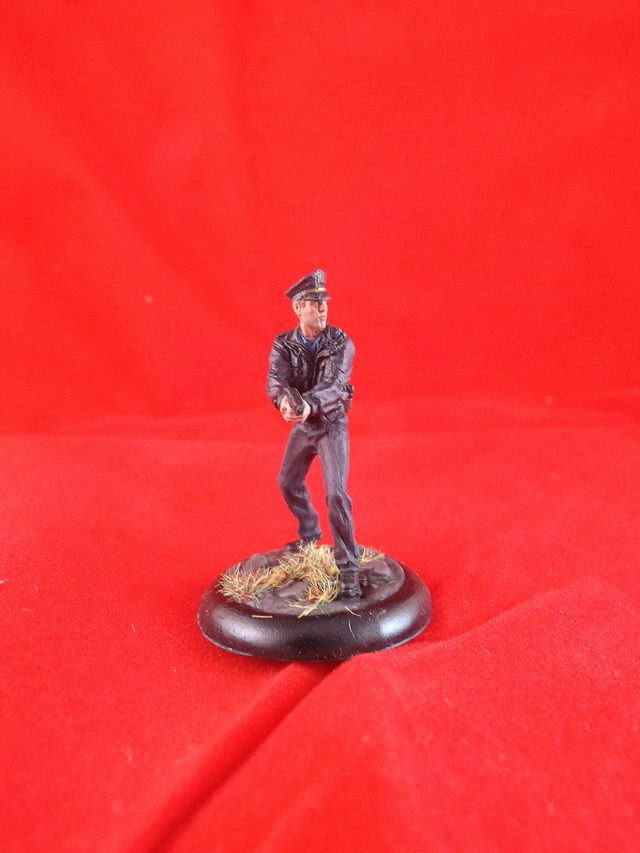
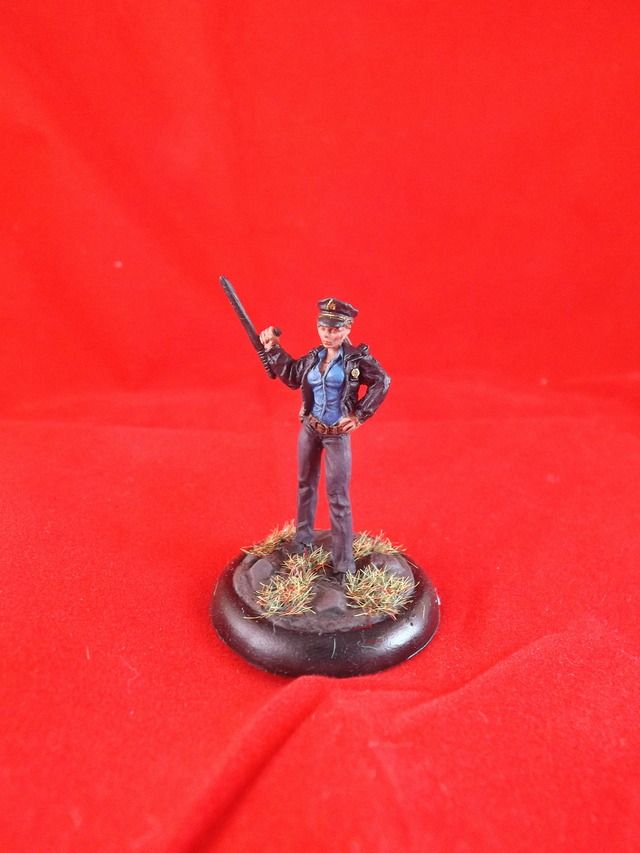
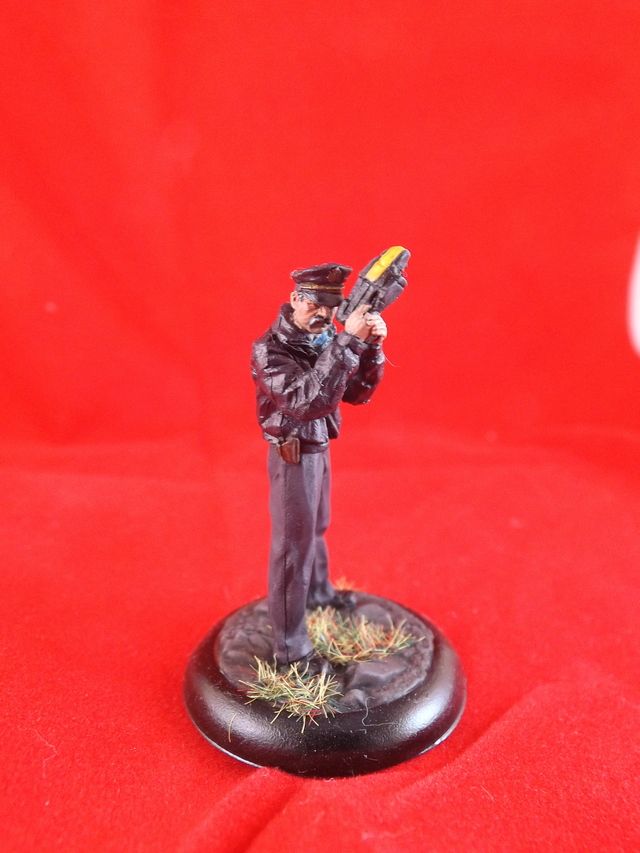
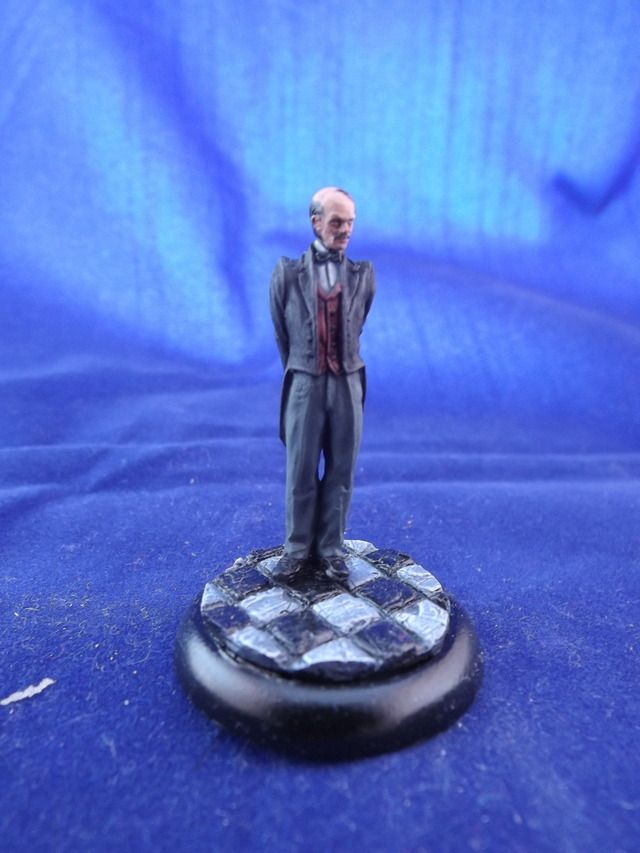
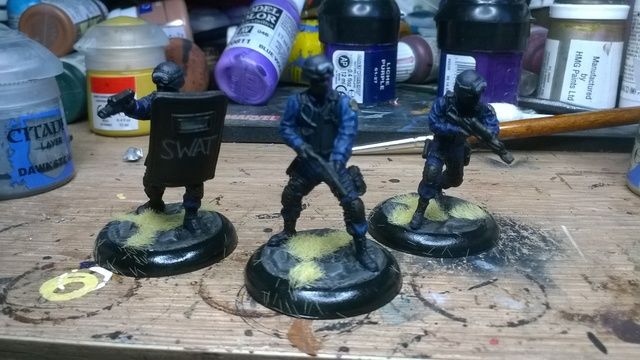
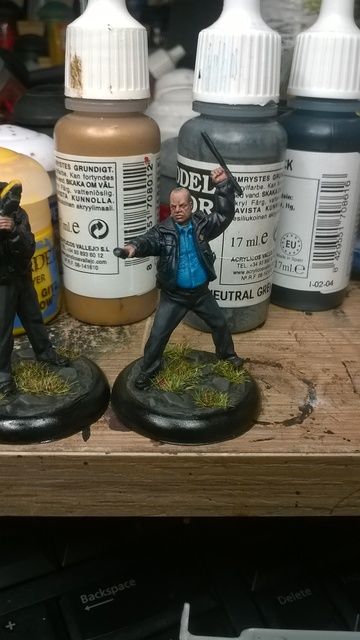
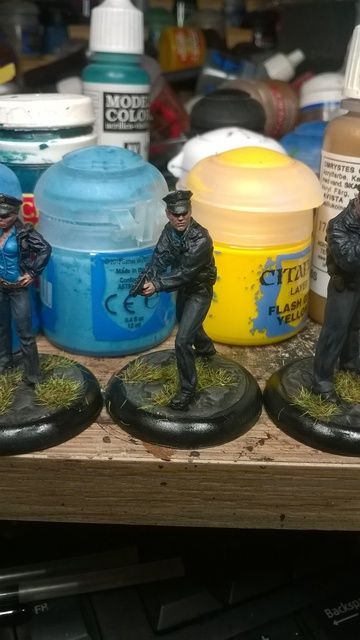
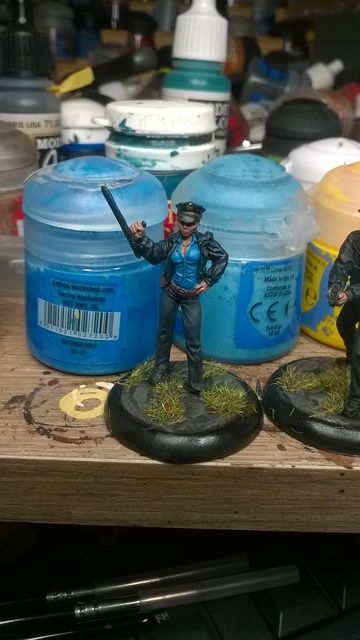
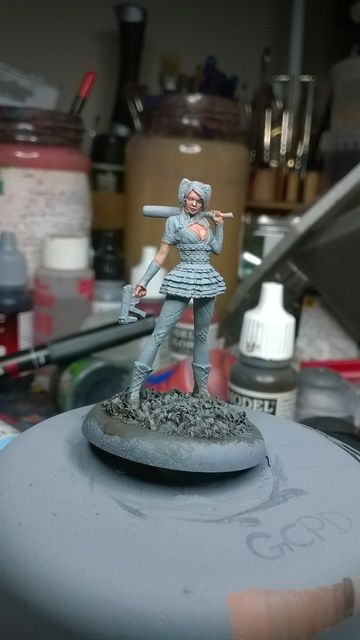
KM: Commissioner Gordon, GCPD SWAT and GCPD Cops:
Firstly some commission work I have just completed:
KM: Commissioner Gordon, GCPD SWAT and GCPD Cops:

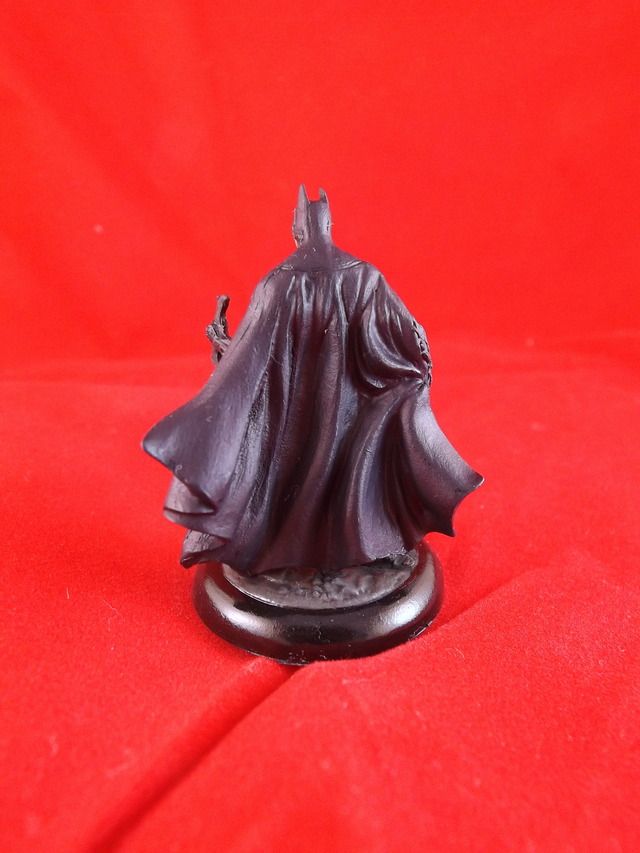
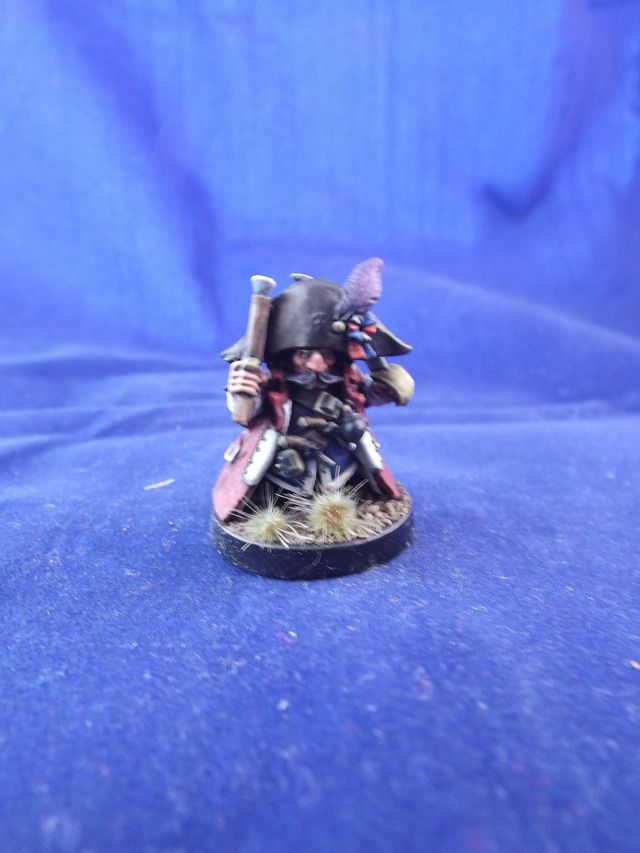
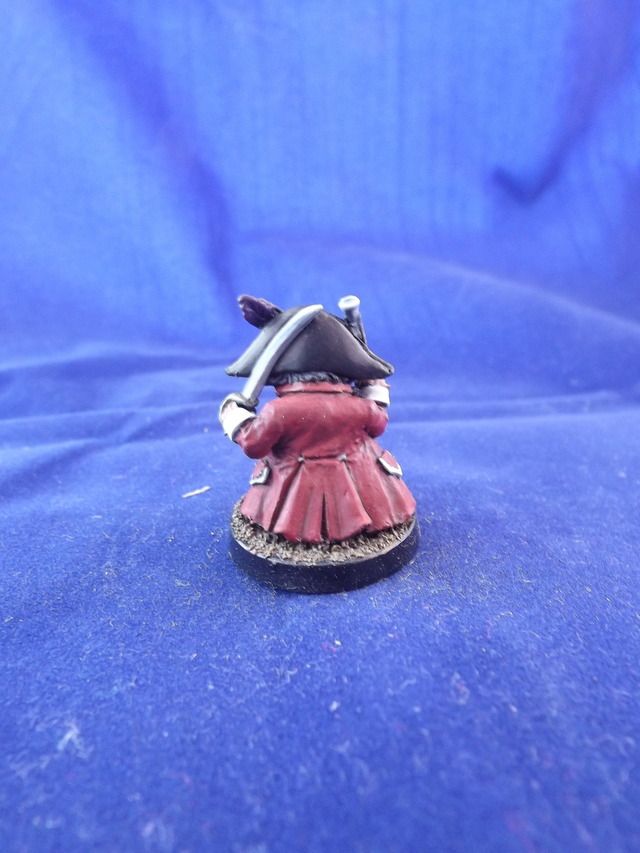
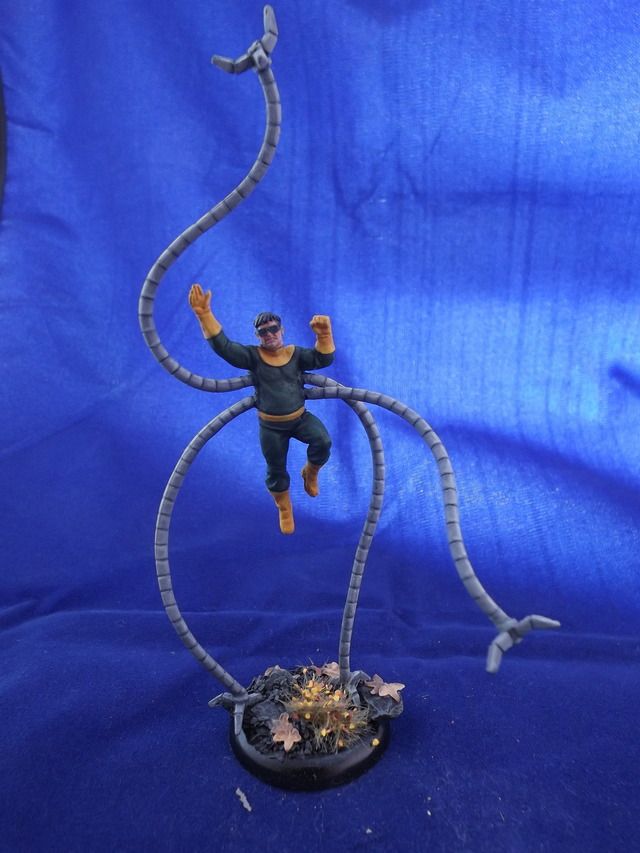
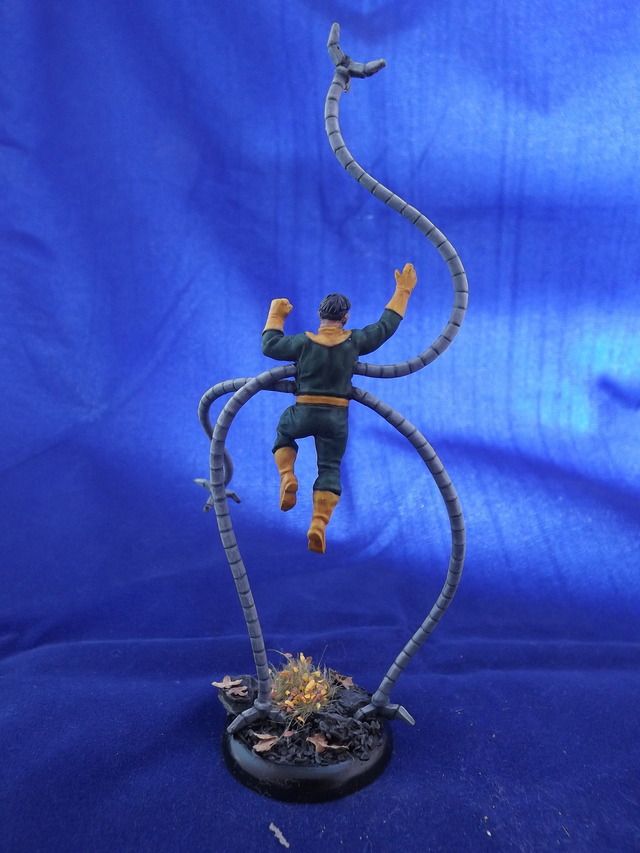
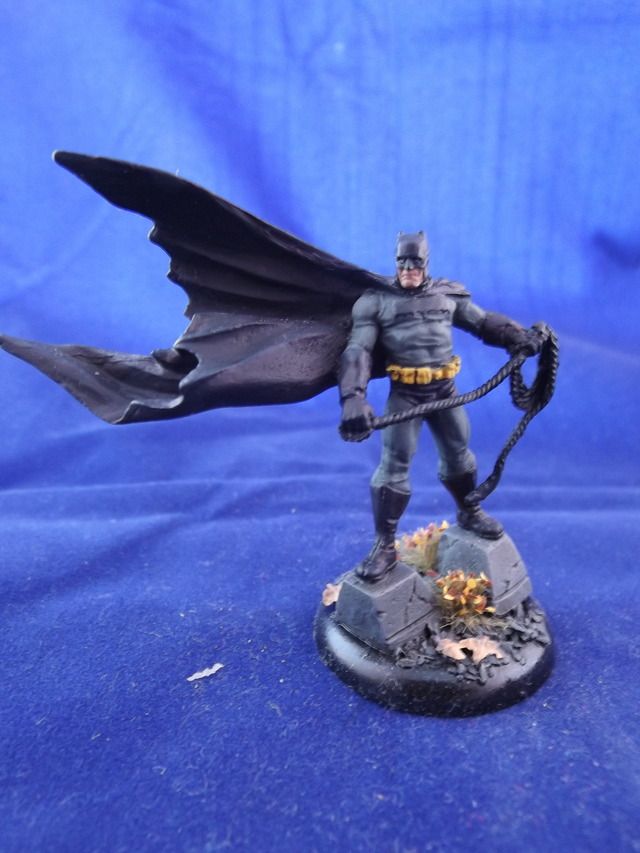
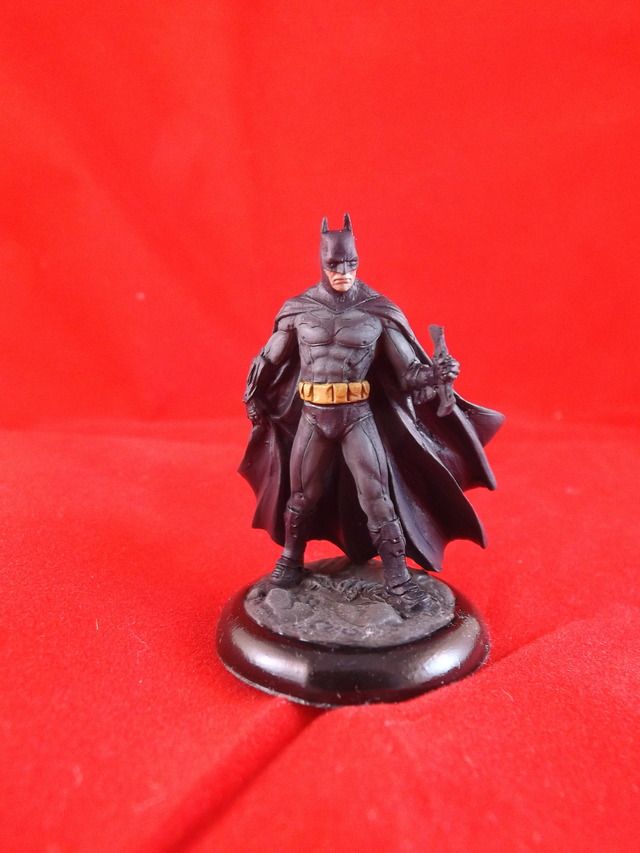
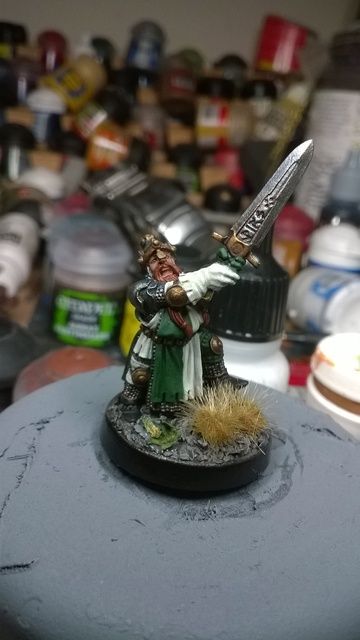
And of course a Batman:
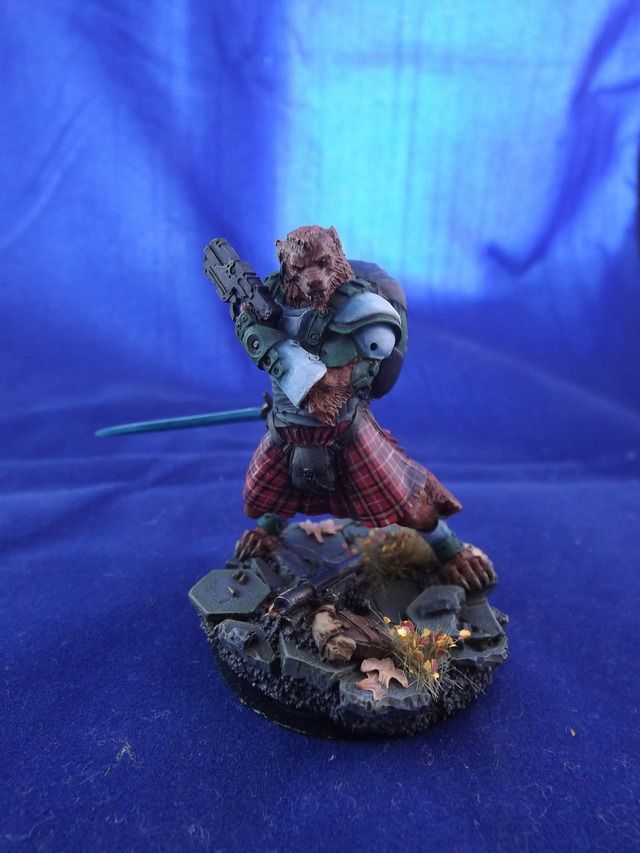
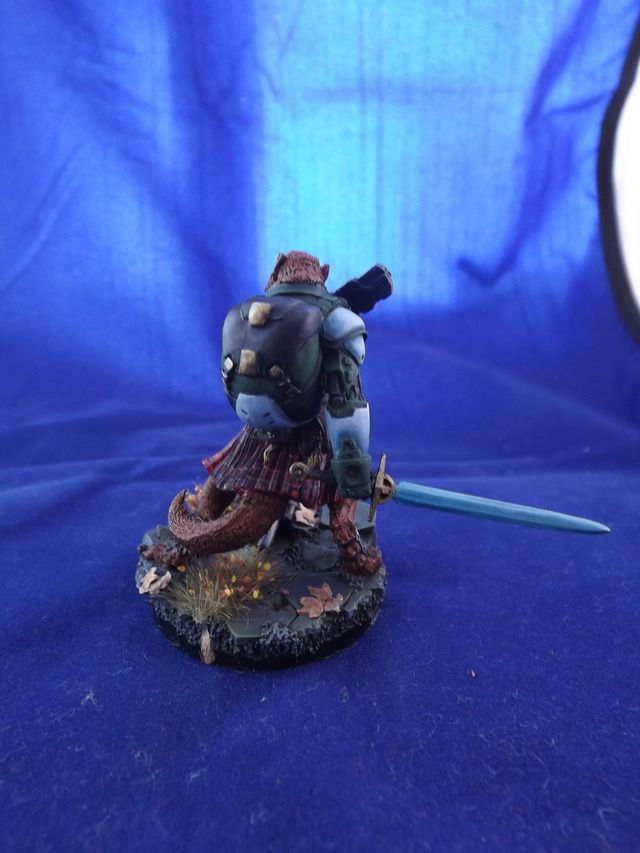
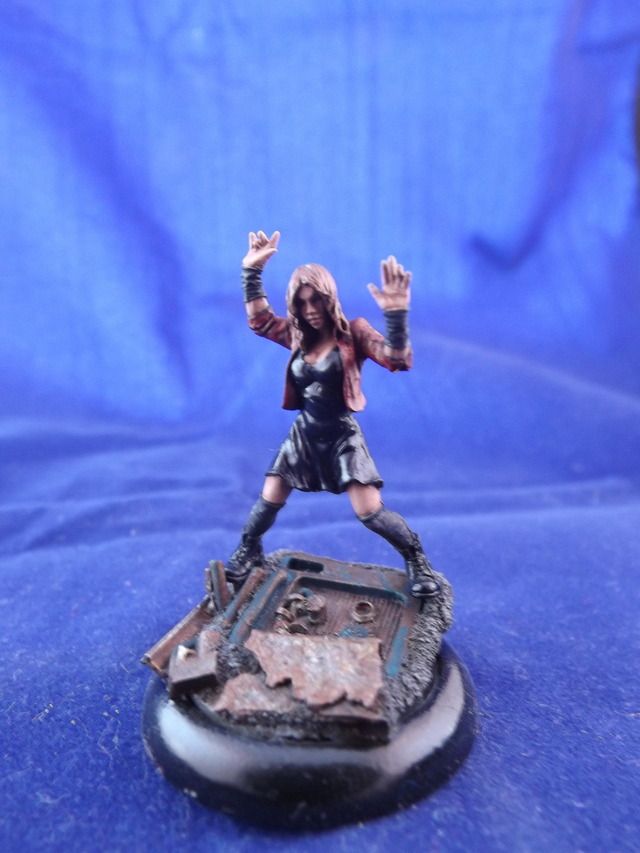
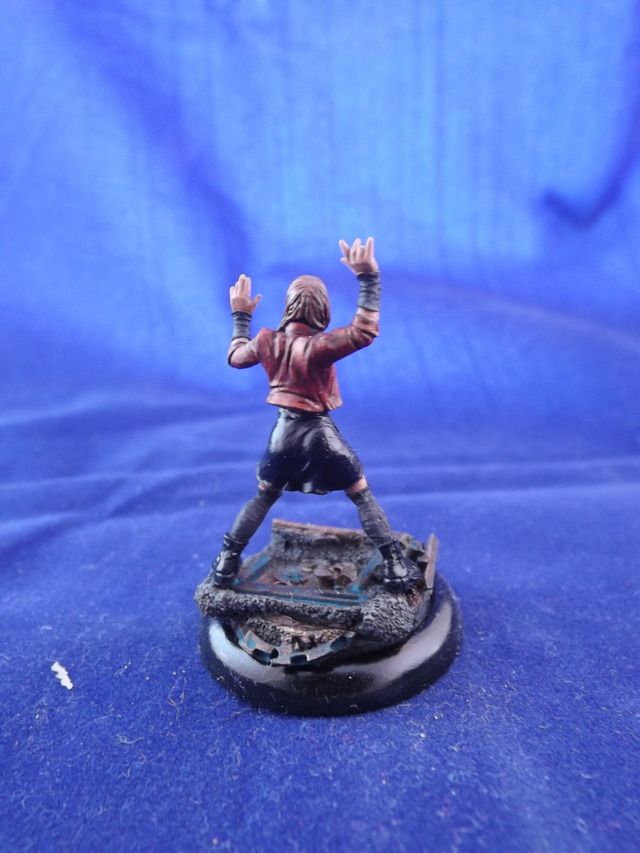
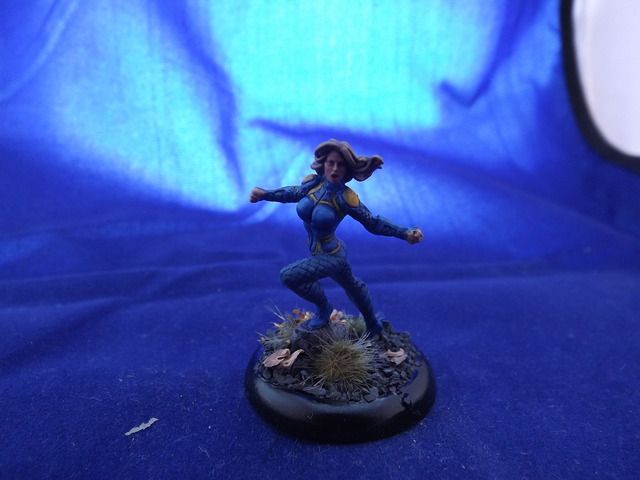
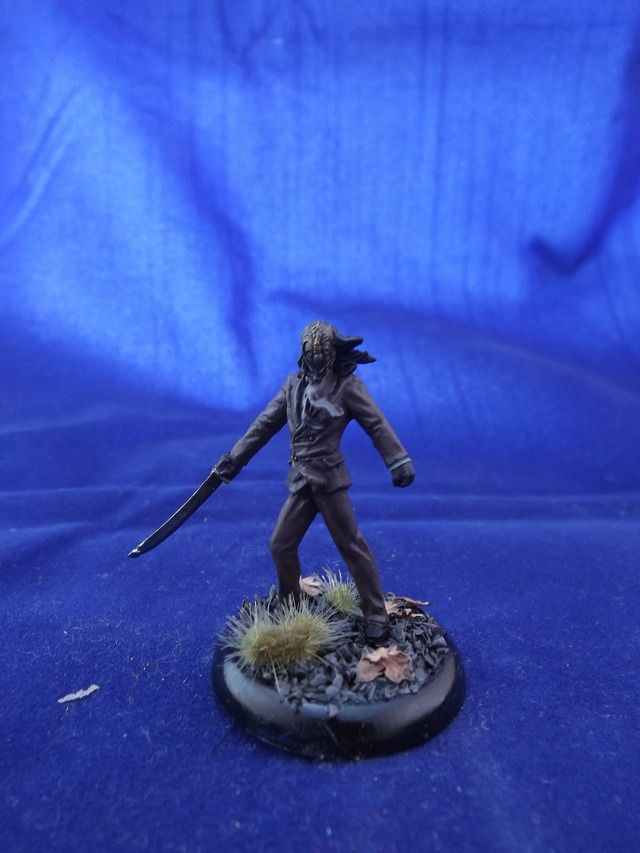
While I waited for more KM models to arrive I painted up this free Hasslefree model I got:
Now for the brass tacks, time for the KM: minis I did for the request. I will be doing a step by step guide for each colour and have step by step pictures for some parts but I get quite in to painting and forgot to take all the needed pictures. So it will be a descriptive step by step and you can look at my photo buckets for the all the pictures: My photo bucket
Lets hope this works and is helpful
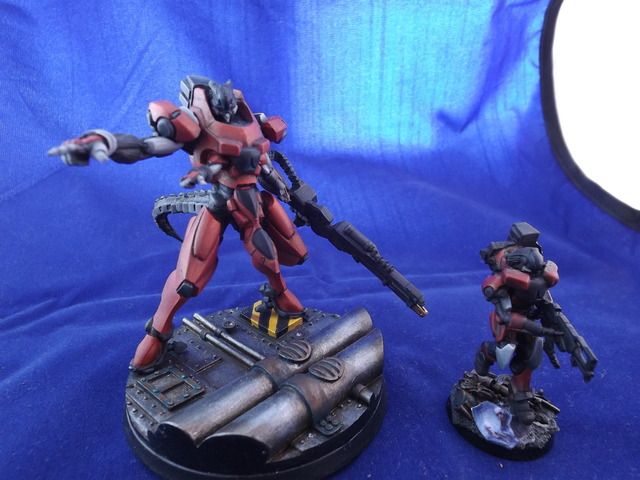
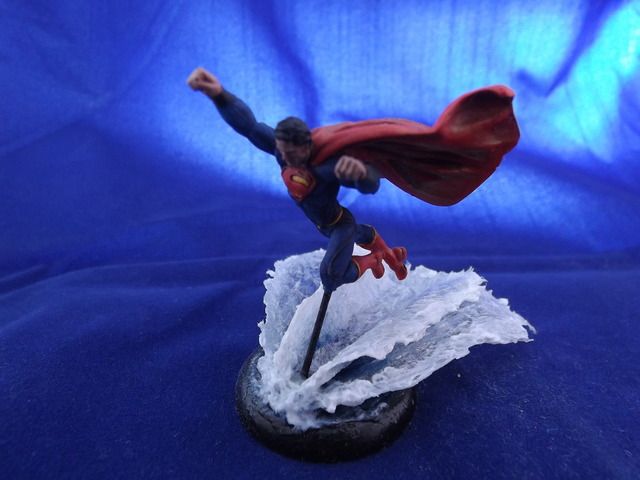
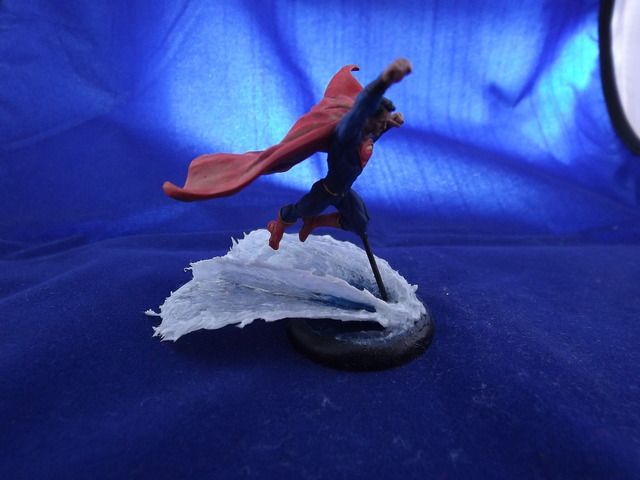
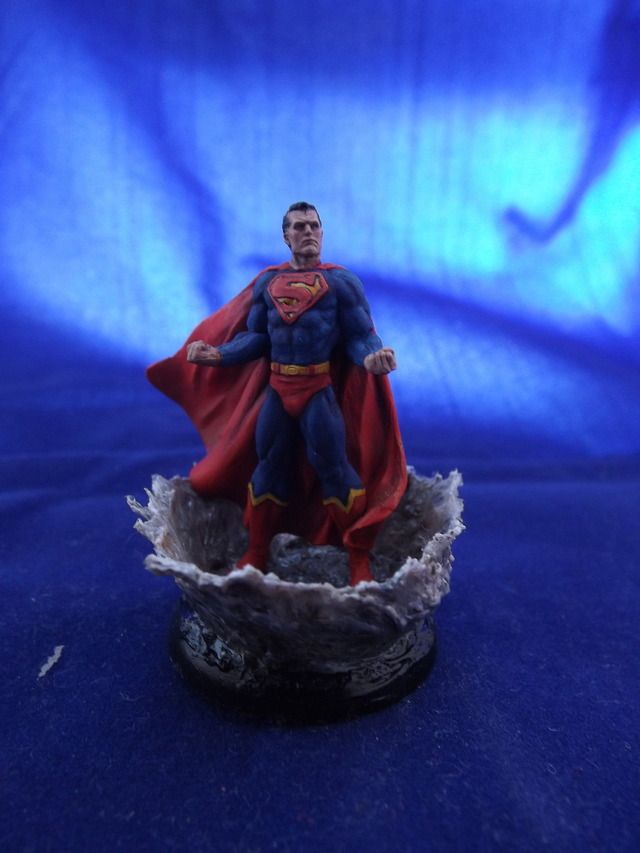
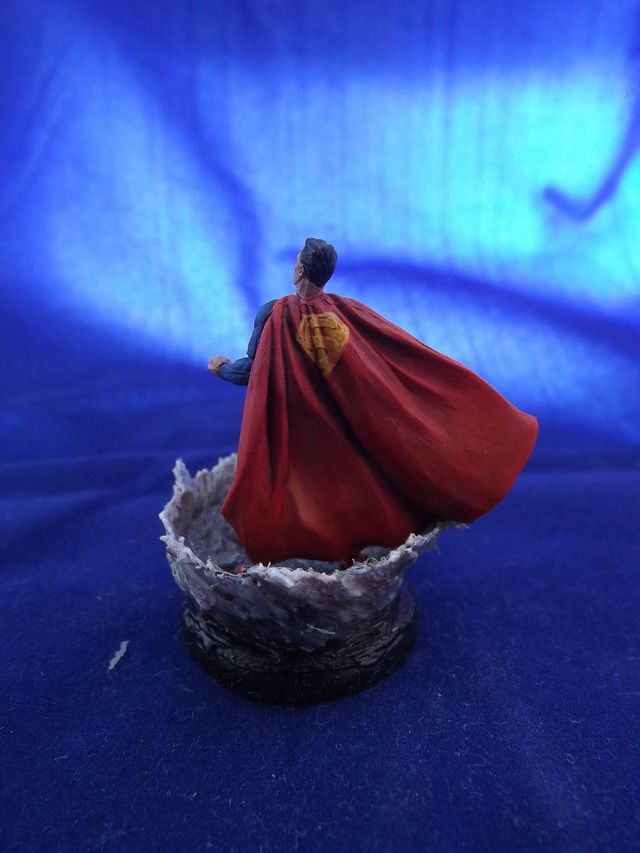
Lets start with the finished pictures:
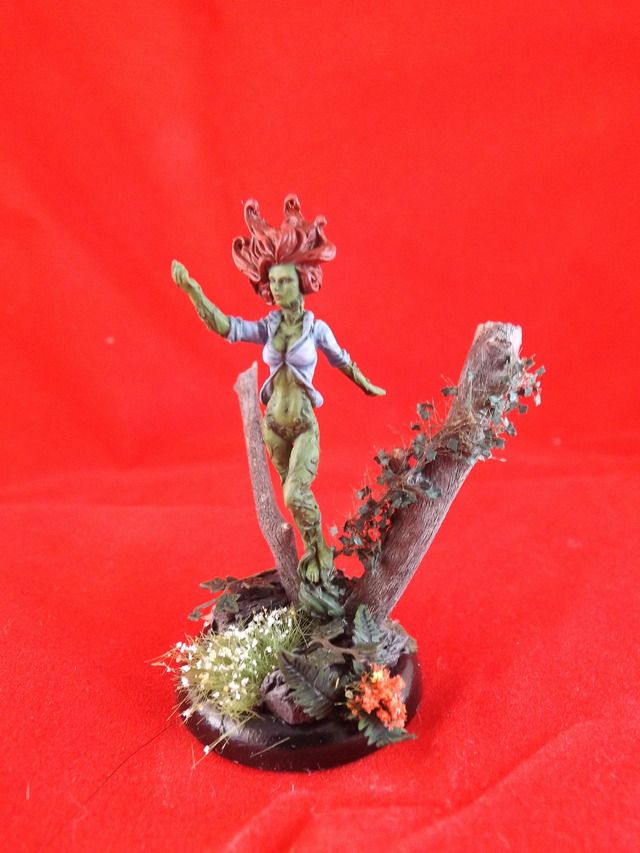
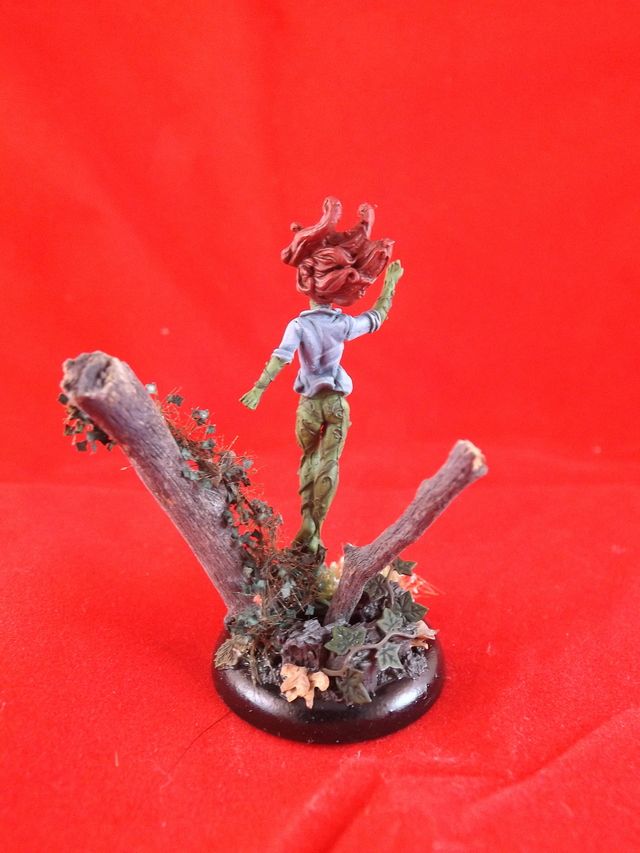
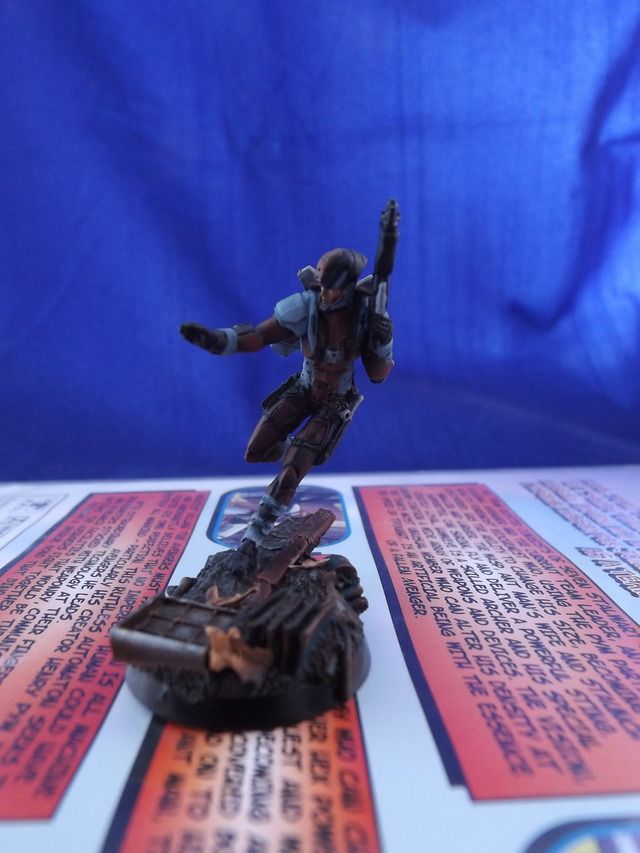
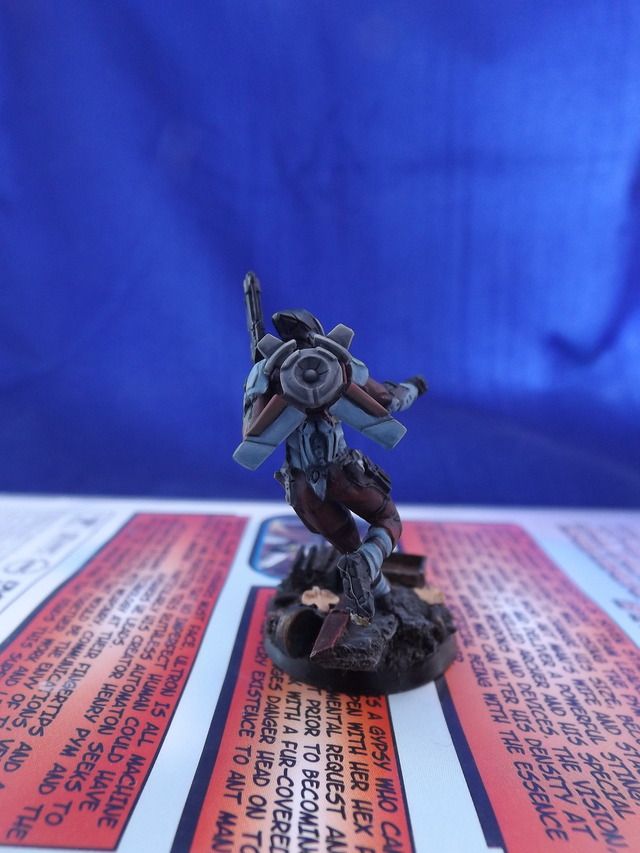
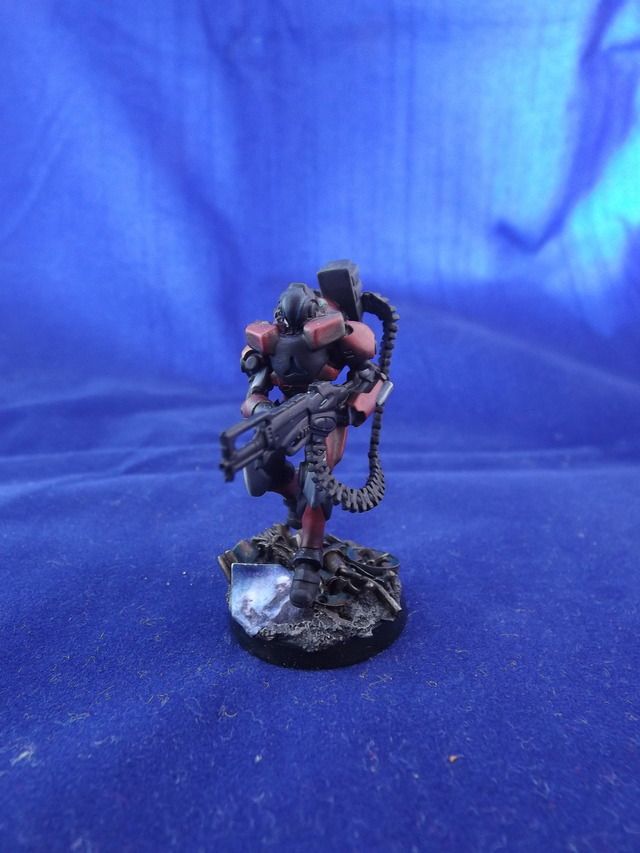
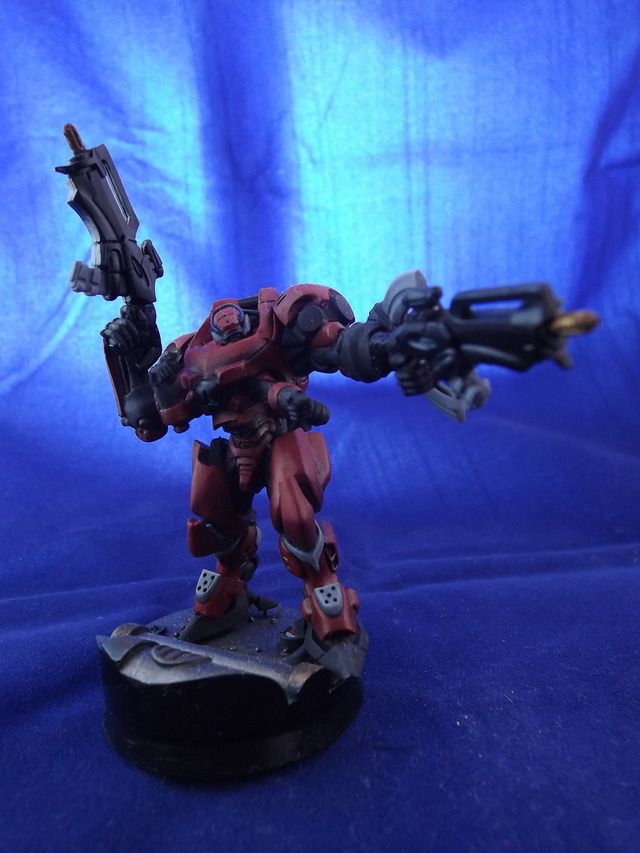
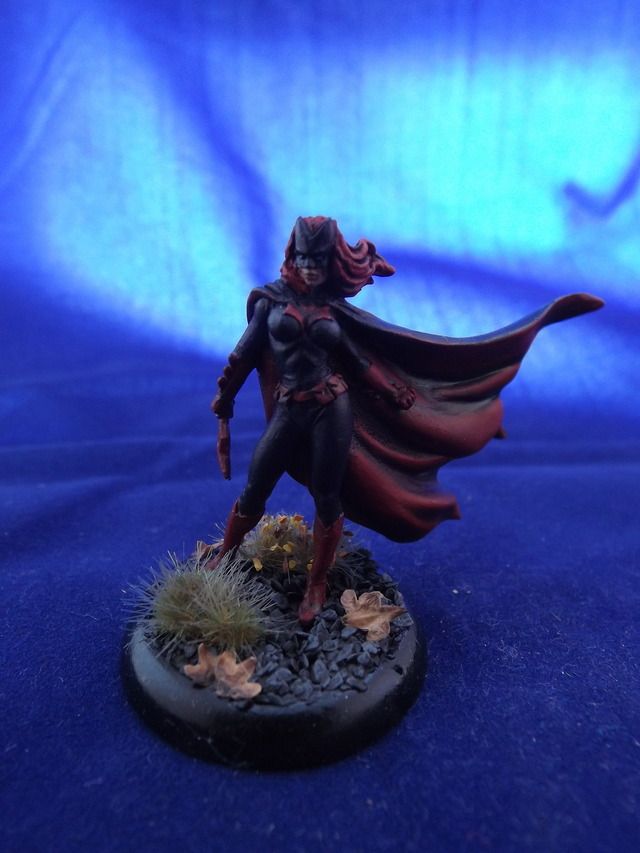
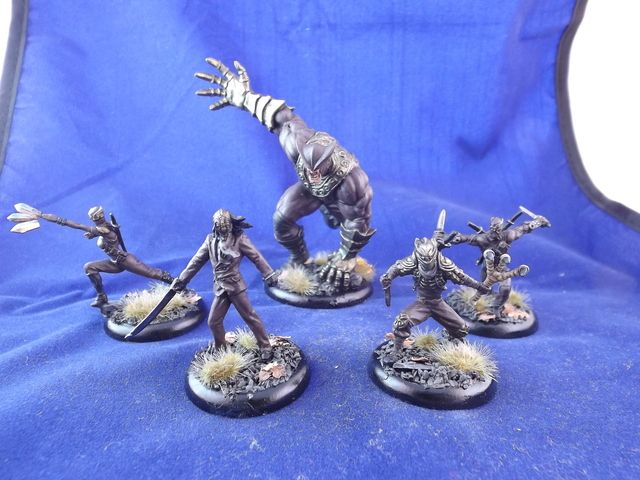
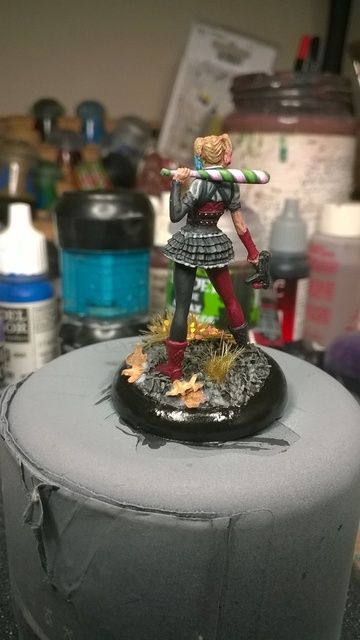
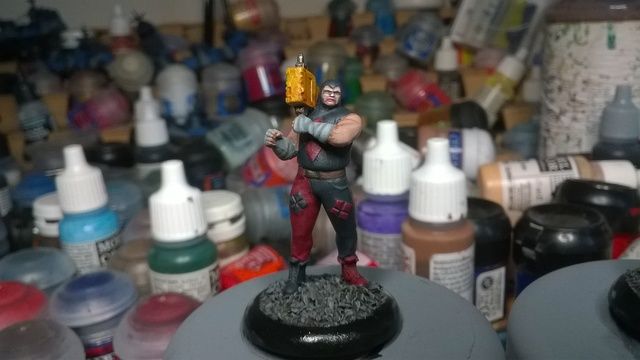
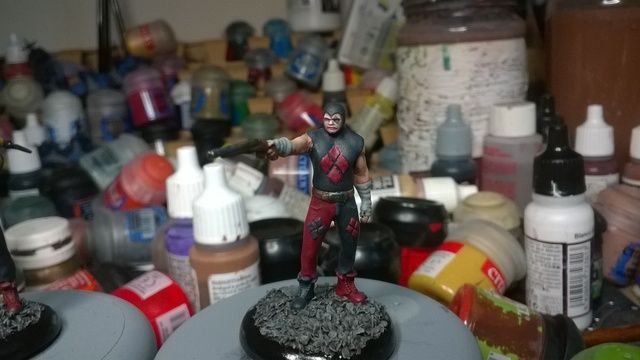
Harley Quinn:
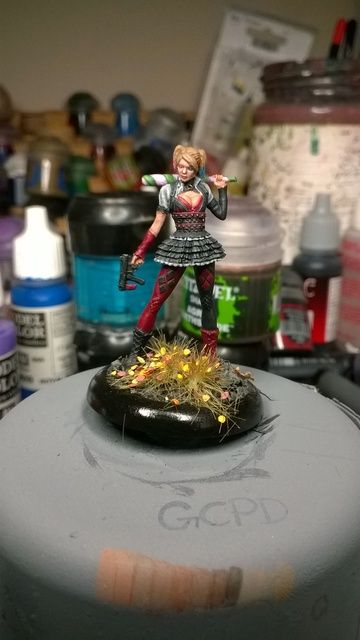
In the first picture on the spray can lid Harley is attached to you can see the many stages I do for my skin.
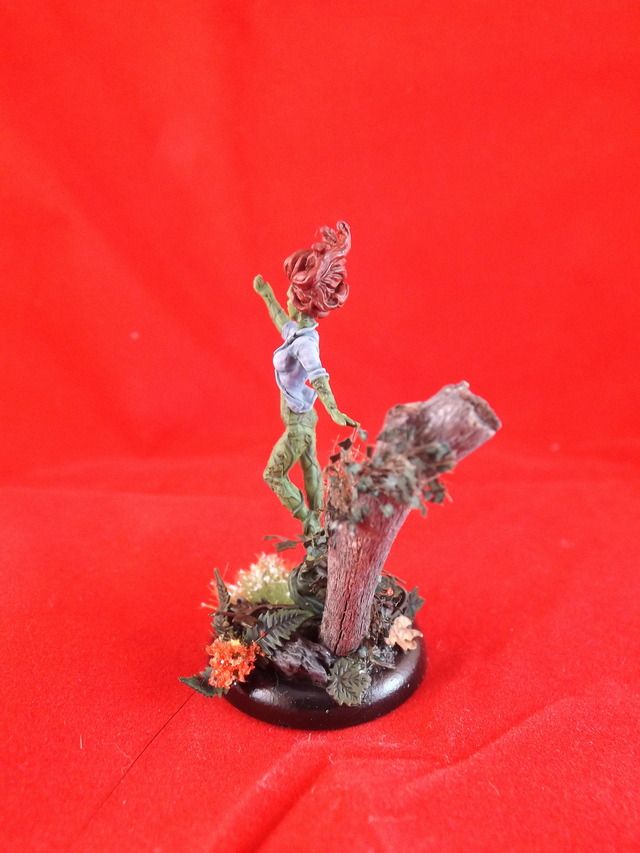
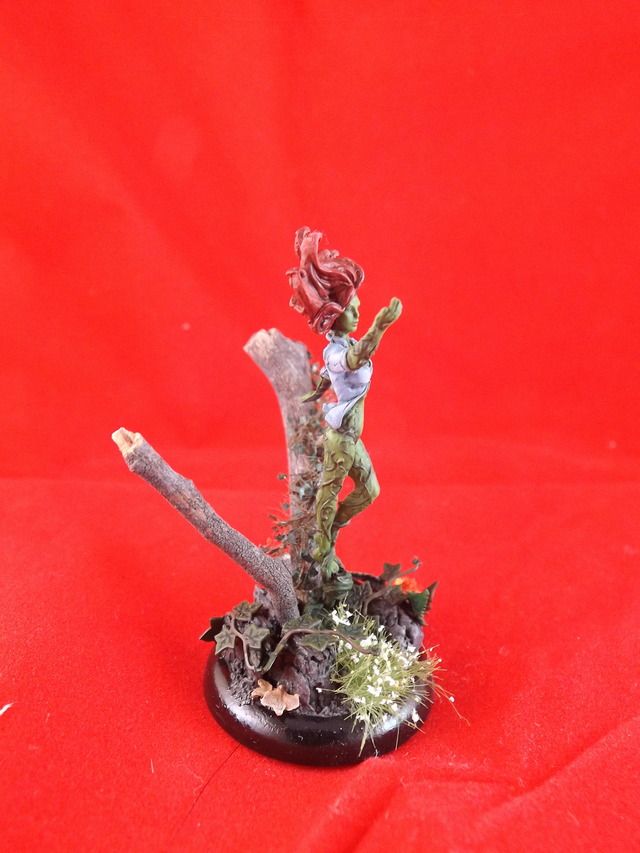
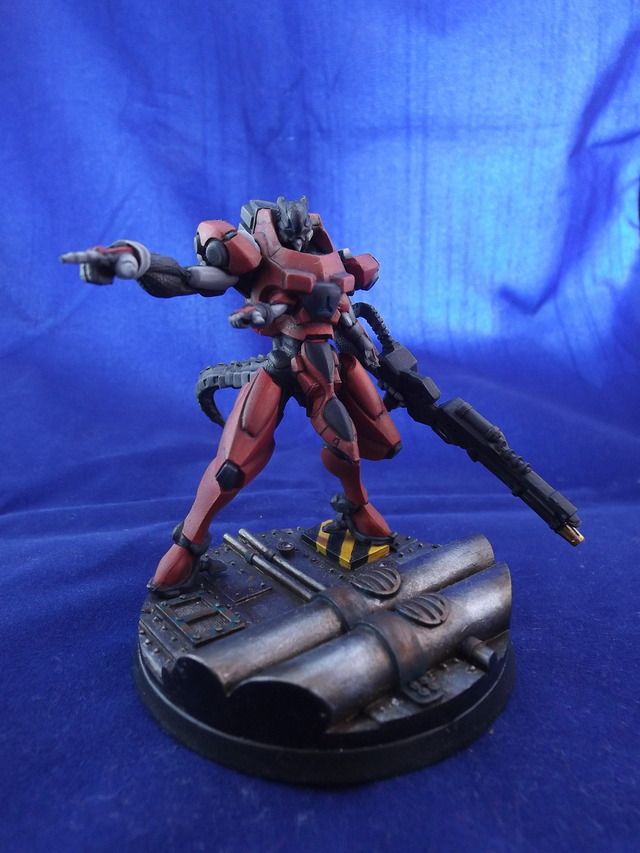
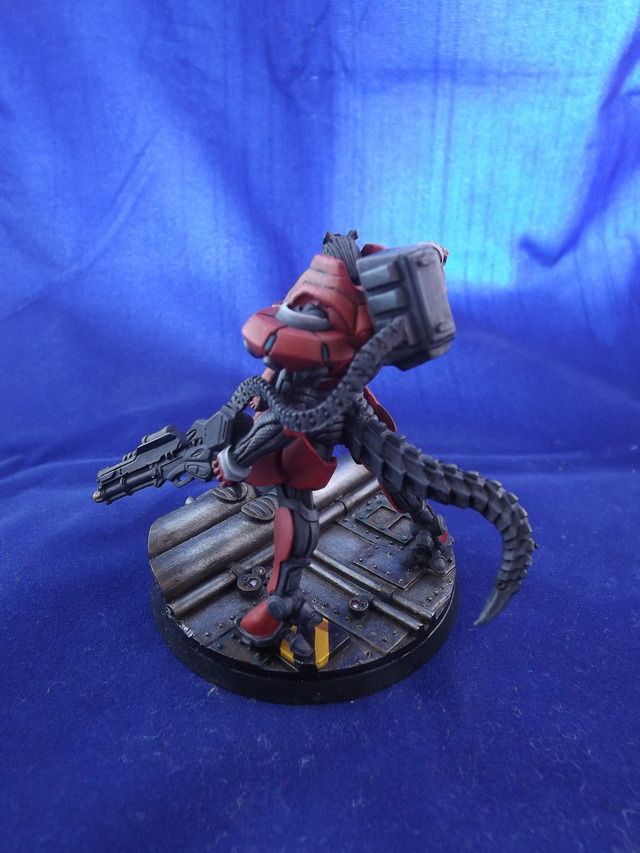
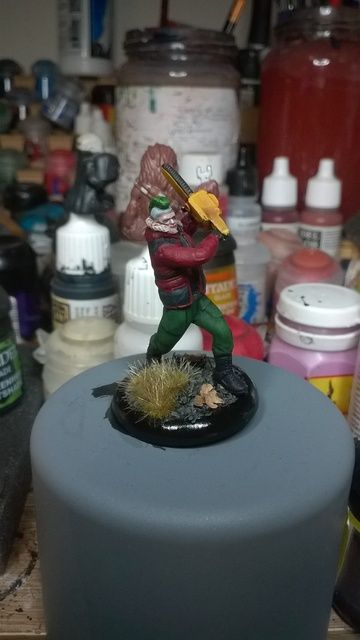
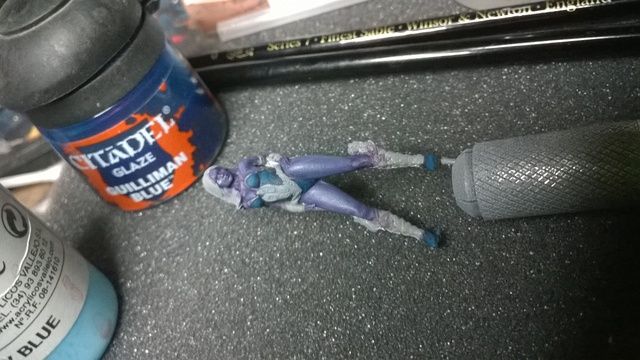
Killer Frost:
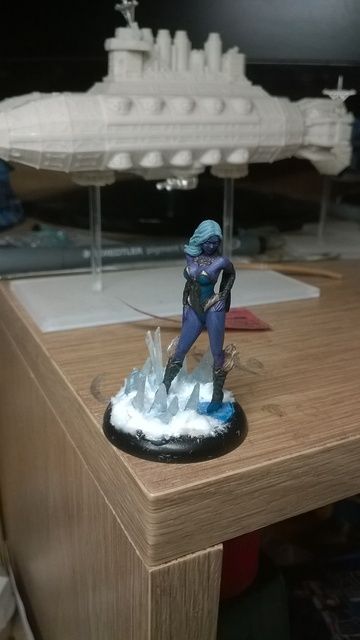
I will say how I made the icicles too.
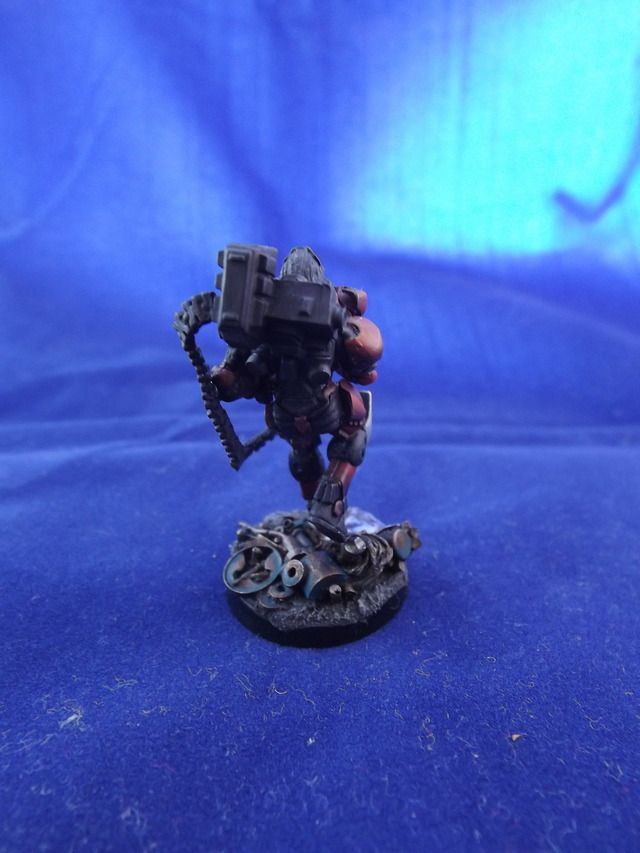
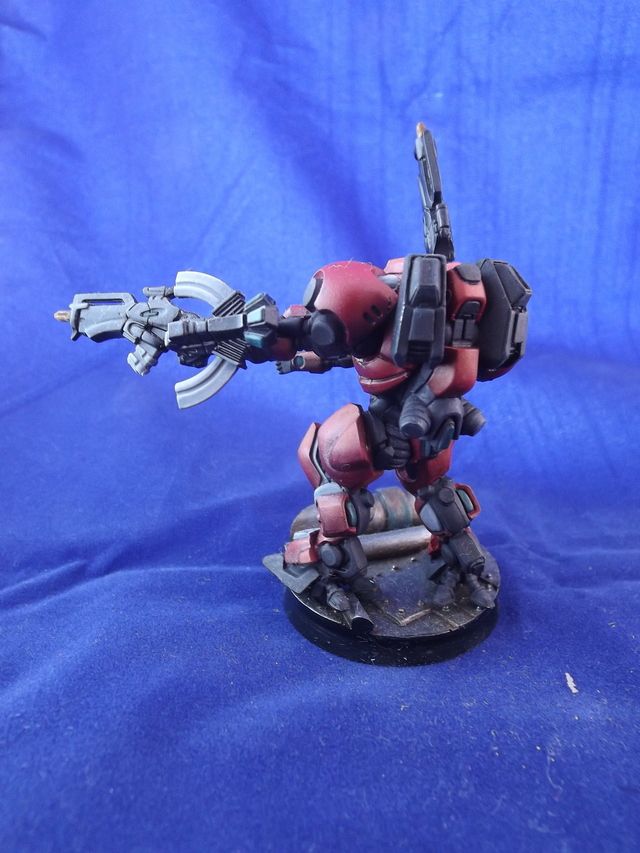
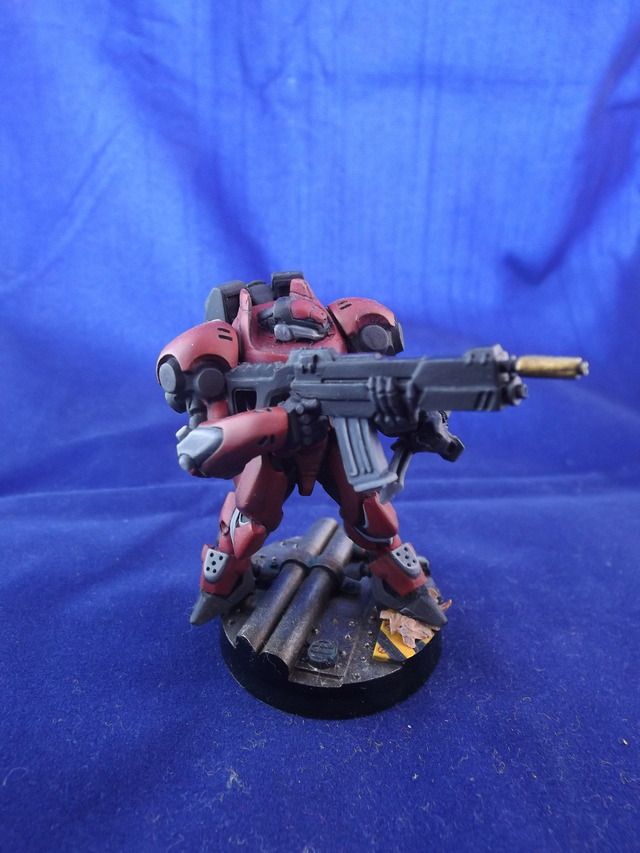
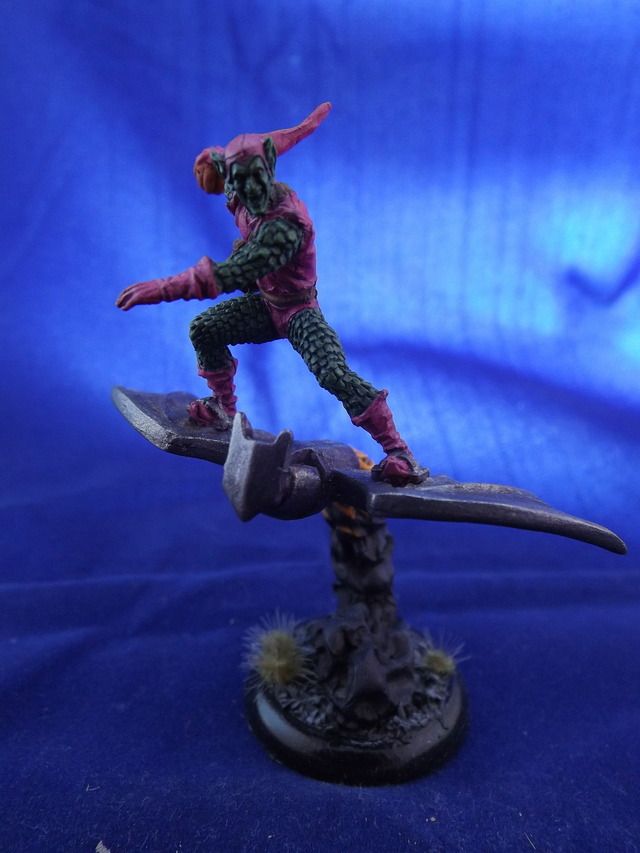
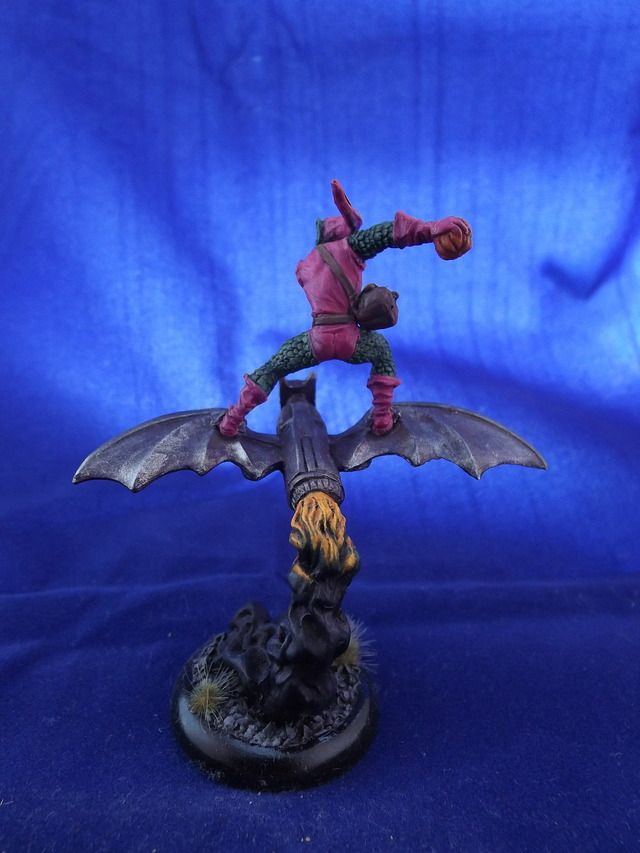
And Harley Quinns goons:
I am not going to describe everything, I am just going to say how I do skin, blacks, red, basic bases and icicles. If there is anything I have missed out that you want to know just ask.
So my first tip/ cheat is these:
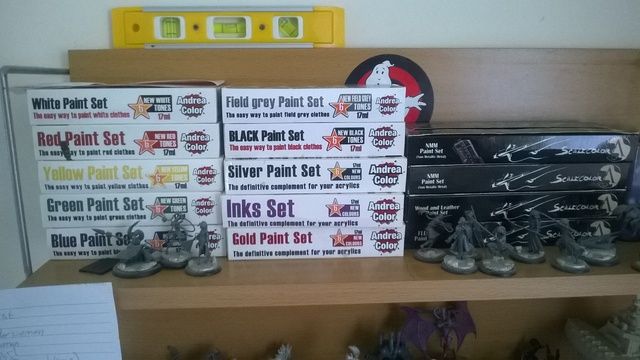
Paint sets from Andrea Color and Scale 75. These contain all you need to simply achieve a given colour or effect. For beginners simply use the contents as described in their instruction books or for the more experienced painter add extra steps and colours as needed. The instructions tend to be around 6 basic steps, I end up with 12 plus steps.
There are great sets and wish I could get them all, but I am a school teacher and lack money to buy them all.
Firstly, lets start with my basic base.:

- GW Skavenblight Dinge
- GW Agrax Earthshade
- Dry brush: GW Skavenblight Dinge
- Dry brush: GW Stormvermin fur
- Dry brush: Dawnstone
- Top with which ever flock, grass, leaves you want
Skin:
I have a step by step guide here: Skin tutorial
- Base coat Tallarn flesh 1:1 with water
- talllarn flesh 85% / scorched brown 15% 3:1 water and paint. In all recesses of all depths
- Tallarn flesh 70% / scorched brown 30% 3:1 water to paint
- Tallarn flesh 60% / scorched brown 40% 3:1 water to paint
- Tallarn flesh 50/50 scorched brown 3:1 water to paint
- Scorched brown 3:1 water paint
- Scorched brown 75% / chaos black 25% 3:1 water paint very deepest recesses barely use
- Re highlight with base.
- Highlight with tallarn flesh 75% / bronzed flesh 25% 3:1 water to paint
- Next highlight 50\50 tallarn flesh bronzed flesh 3:1 water to paint
- Highlight 25% tallarn / 25% bronzed / 50 % white 3:1 water to paint
- Extreme highlight 12% tallarn/ 12% bronzed / 75% white 3:1 water to paint.
- Wash of base plus a red (scab red) on lips, cheeks bones, noses ( males, and drinkers only) anyplace you'd find reddened areas
- Wash of base plus a dark green on temples, back of knees lower cheeks under nose
You could go further and do a similar wash as steps 13 and 14 but with a dark blue. Also the new GW scorched brown (rhinox hide I think) is rubbish for this and so is cadian flesh tone. Best use Oak brown from Army painter and a Golden skin from Scale 75 instead.
I would love to take the credit for this recipe but got it from Miniature Mentor tutorials
Killer Frost Skin:
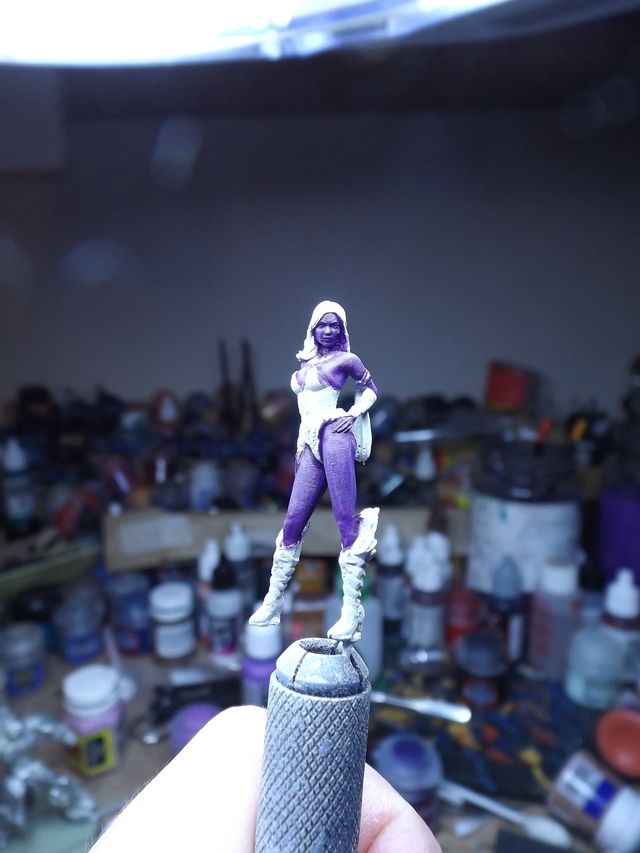
I initially went done the purple route but found, it wasn't working and was coming out to dark and the highlights were not blending as well:
Do a dip in Fairy power spray (I prefer Nitro-mors to strip metal minis but had none and it's nasty stuff you get it on you skin) and she was like new:
So with this second attempt I went for a grey undercoat (usually what I use), but was struggling for a way to paint her skin effectively, but I remember a whole load of tutorial White Dwarf did years ago, when White Dwarf was worth getting and not just a glorified catalogue. I found in issue 356 page 96 a Tau skin tutorial and the finish they had on Commander Shadowsun was close to want I wanted so went for it that way which is:
- Base coat of Fenris grey which liche purple added (liche purple is added to each stage come to think about it)
- Wash with 1:1:1 Liche purple:Scorched brown (oak brown): and badab black.
- Layer of shadow grey (and LP)
- 1:1:1 Shadow grey, fortress grey and kommando khaki (and LP)
- Highlight Kommando Khaki (No LP)
- Extreme highlight of white
- Glaze of Liche purple
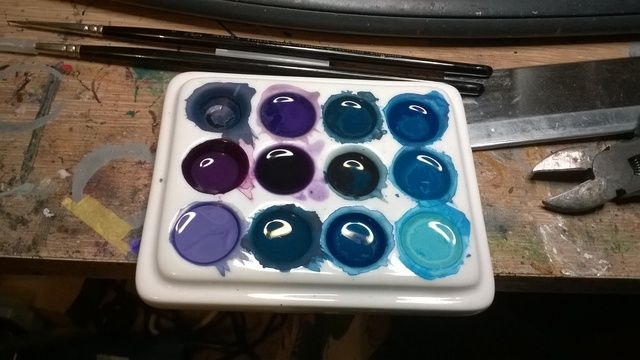
Killer frost blue was achieved using Andrea colors blue set ( with more intermediate stages of colour) but with added Hawk turquoise to each stage and a further stage of VMC sky blue plus a glaze of Gulliman blue:
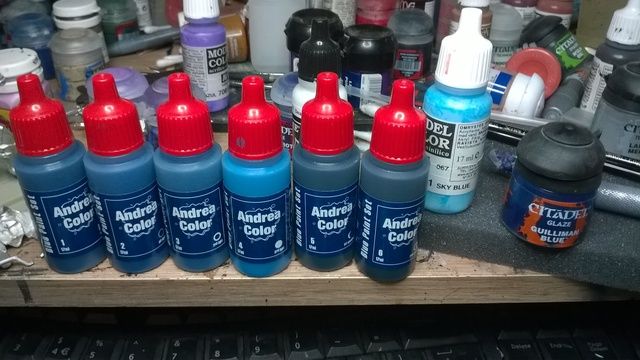
My palette after just the Killer Frost Skin and blues top
Painting Red:
Again originally not my invention, yes I put my own spin on it but I basically nick the basics from my friend Rasmus Lassen and his Blog: Paint and Procrastination
- Solid base coat of GWs Khorne Red (1:1 water to paint)
- Shading. Use GWs Drakenhof Nightshade and Druchii Violet. add to the recess and out slightly do this a few times until you are happy with the transition
- Highlight with GWs Khorne Red (3:1 water to paint)
- Highlight with 50/50 mix of Khorne Red and Evil Sunz Scarlet, (3:1 water to paint)
- Highlight with 25/75 mix of Khorne Red and Evil Sunz Scarlet, (3:1 water to paint)
- Highlight with pure Evil Sunz Scarlet (3:1 water to paint)
- Highlight with 50/50 mix of Evil Sunz Scarlet and Wild Rider Red, (3:1 water to paint)
- Highlight with 1:1:1 mix of Evil Sunz Scarlet, Wild Rider Red and bronzed flesh, (3:1 water to paint)
Painting Black:
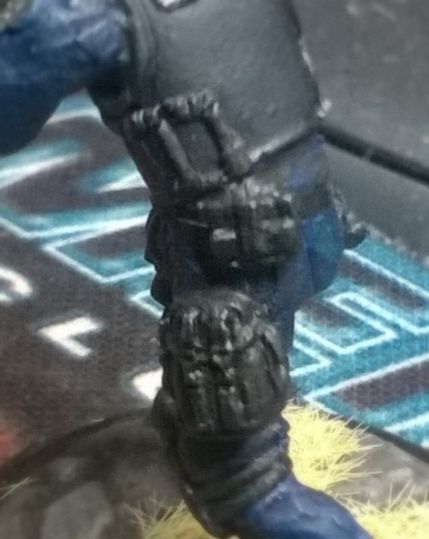
I have several different ways to paint Black one where I start with the highlights and work down to the shading, Several variation of the Andrea Black paint set. But the Two I am going to show you now are the ones I use the most and basically exactly the same.
There is the cold black of Harley Quinns Dress and the SWAT guys flak jacket and the neutral black of the Harley Quinn gun or the SWAT guys pouches.
Cold black
- Base coat of Chaos Black and Regal blue (2:1) in the above cases I used VMC Royal blue nstead
- Highlights add increasing amounts of fortress grey until pure fortress
- Extreme highlight of fortress grey
- Too the extreme highlight of Fortress grey and skull white 1:1
- Glaze of Andreas Black ink
You can vary the finish you get by using different shades and tones of blue, e.g. brighter blues will give lighter cooler blacks where grey blues will give greyer cooler neutral blacks
My neutral grey is exactly the same but minus the blue
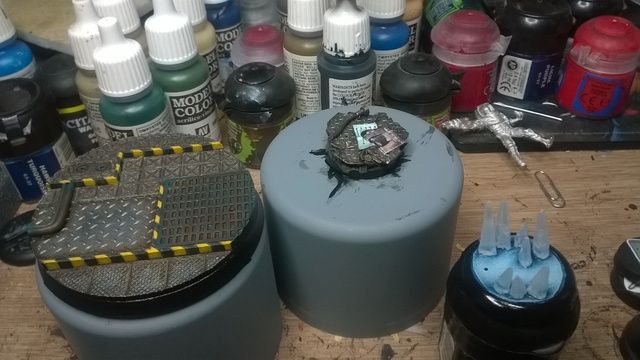
What about the Icicles then:
These guys are very simple use old clear plastic sprues or rods I just shape them into shape and glue them on:
Then using woodland scenics, snow effect to create layers of snow and ice
So what's next from here's a teaser:
I do take commission work, I'm fairly quick and cheap, just ask.
Also if someone from Knight models is reading and likes my painting, although I'm not as good as some of the people you I would love to paint some stuff for you.